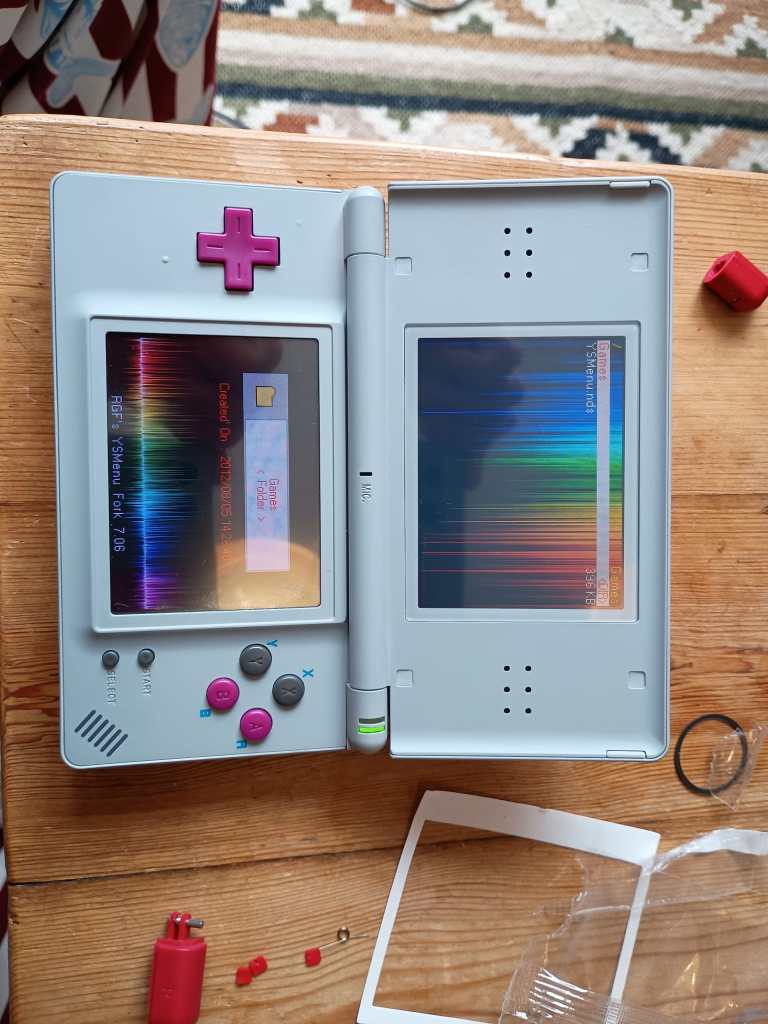
Another non-Warhammer post this week. A few years ago I picked up a basically brand new in box DS Lite off of eBay for gaming out and about (I had a steam deck, but it was a bit too big to take out and about practically; and also my Wife stole it to play football manager on!)
Unfortunately, the plastics had clearly suffered over the years cause a year or so of being chucking in and out of a backpack put a pretty big crack in the hinge – one that didn’t really affect it at first but the more I used it the looser the top screen got; until finally it wouldn’t hold position at all.
I picked up this replacement case from Extreme Rate (apologies for the Amazon link, but it’s where I got it from) and there it sat, with my broken DS Lite, for about a year. I’d heard that the hinge routing of the cables, especially the top screen cable, was a massive pain in the ass and was the place you would irrecoverably break your DS if it were going to happen.
It wasn’t until this year (February to be exact) that I had an empty Saturday with literally nothing better to do that I finally picked up the box and decided to give it a go. I’d been watching plenty of videos about the new Anbernic and Ayaneo android handhelds so I figured, if worse came to worse, I’d just buy one of their folding devices to replace the DS if I did mess it up.
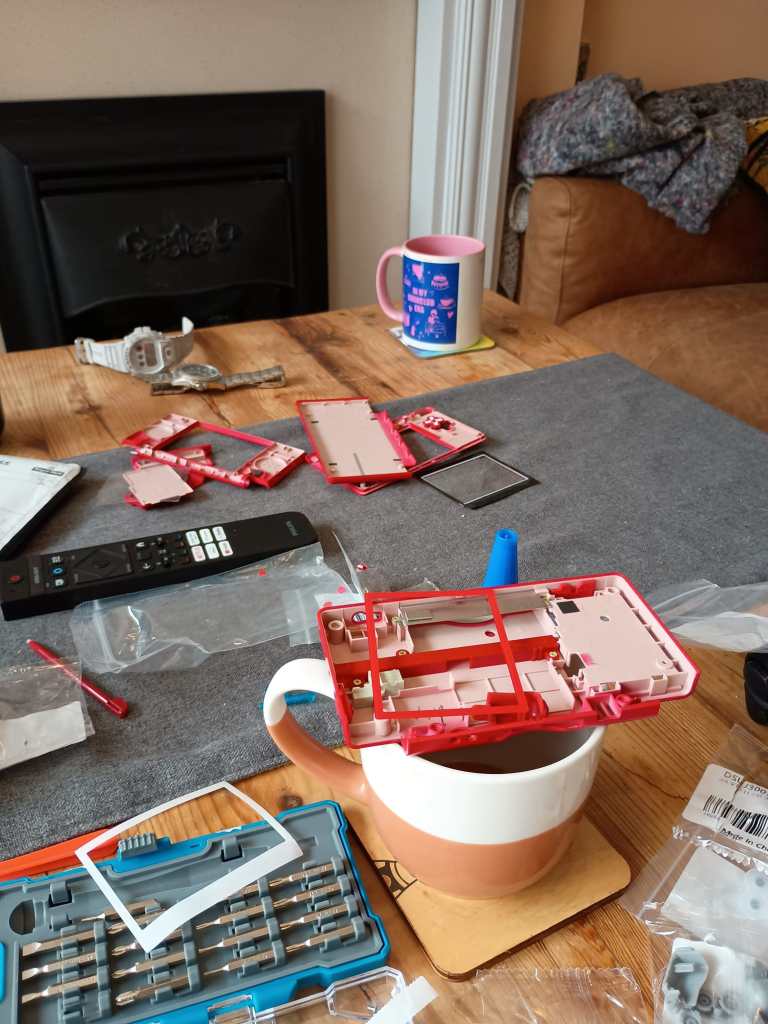
Extreme Rate actually have an incredibly helpful video guide to doing the shell replacement here and I followed this step by step through the whole disassembly and reassembly of the device. Disassembly is pretty straight forward, with the only really difficult parts being the removal of some of the flat cables from the motherboard, fishing one of the cables out from underneath the cartridge slot and of course, removing the dreaded wound up top screen cable from the hinge.
Reassembly was pretty much smooth sailing too. With a good pair of tweezers and some patience I actually found re-routing the top-screen cable through the hinge pretty easy – but there were a couple of bits that took me ages. I did manage to snap the clip that holds the very small flat cable that plugs in to the motherboard. I managed to get around this by seating the cable in, holding it with a crocodile clip, and then hot gluing it in place (thanks James Channel and his often horrifying-ly good portable console builds for the inspiration on this)
Re-routing the black wire underneath the cartridge slot again was an absolute pain – taking multiple attempts and always leaving me with less cable than it looked like I needed. I managed to get it plugged in eventually, but not routed anywhere near the way that it looks in the video.
The biggest time-sink however, was reassembling the damn shoulder buttons. They’re held in by through pins, that also have a spring threaded through them, to give the buttons the nice smooth return. Not only are the pins not captive and so fall out all over the place, but the springs absolutely love to ping out of the case for absolutely no reason, and they’re tiny too so they are a nightmare to find. On the third time of asking I managed to get them both seated in the right orientation and managed to get the bottom case closed up with all the switches seated correctly.
Overall I’d say this is a reasonably difficult, but approachable “mod” or fix to do. There’s no soldering, and Extreme Rate do provide all the tools you’ll need at a bare minimum (I used an electronics screwdriver set I got from the Aldi middle isle, as well as a small pair of tweezers and a hairdryer; all of which I would highly recommend you use if you have them!). It’s fiddly, there are some really risky bits where you can absolutely break your DS beyond repair; but, if your DS is gathering dust cause you’ve got a snapped hinge like mine – 20 quid isn’t too too much to spend for a pretty decent chance of getting it fixed up like new!

Leave a comment